Projects so far

Showing posts with label glue. Show all posts

Saturday, 8 October 2011

40th Project completed - A' filigree brooch'

Well another busy day over and done with. I spent the morning replacing numerous bolts in the Locomotive - Jerry M that we are overhauling at Hollycombe. A bit of an unusual way to spend a Saturday morning I'll admit but there you go!


Well what am I making with the bottle tops I found?


Filigree brooches, very 'Accessorize'


Materials needed


  • Bottle top
  • Fine gauge coloured wire
  • Knitting Needles (I used size 7 needles)
  • Bits and bobs (left over seed beads, broken bits of necklace etc.)
  • Brooch pin
  • Hot Glue gun and stick
Instructions


1. Knit a small rectangle with the fine gauged wire (I cast on 12 stitches and knitted around 12 rows).


2. Once complete, fold opposite corners of your knitted piece together as in picture above and slip in the bottle top. Then take a length of wire and attach it to the back of the brooch then randomly 'sew' on some small seed beads through all layers taking care to encapsulate the bottle top.


3. Now add some swirls of contrasting wire to add interest and sew on some larger beads, bits of broken necklace etc.

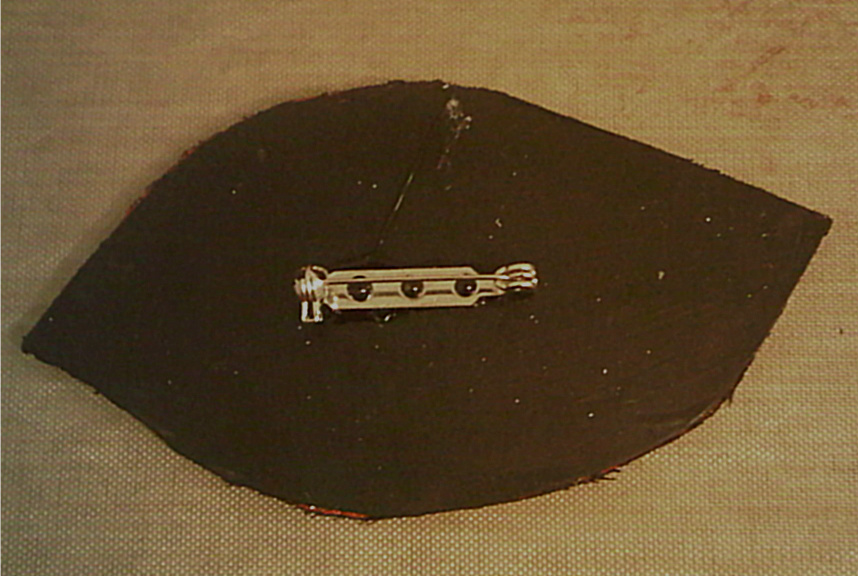
4. Once you are happy with your design attach a brooch pin to the back using some hot glue, allow to cool and there you have it, A filigree brooch!

I hope you enjoyed this project please join me tomorrow evening to find out what I will be using next week.


Saturday, 17 September 2011

37th Project completed - A metal work pendant

Hello again!


Wow this week has past quickly, last time I looked it was Sunday evening and now it is Saturday already. As you will know from the previous post, I decided to play about with an old metal paste tube. 


I knew that as the metal was nice and soft it could be easily embroidered on a machine but I must admit to never having tried it myself. I have discovered that I love it. It was so much fun to do! So here it is a metal work pendant made from a purée tube! 


Materials needed

  • Empty purée tube
  • Small scrap of felt
  • Sewing machine
  • Thread
  • Ball point pen
  • Multi purpose glue
  • Spoon

Instructions


1. Open out your empty purée tube by cutting off the top and bottom then cutting up one side. Clean thoroughly and place onto a folded towel, iron out any wrinkles with the back of a spoon. Mark out a rough design with a ball point pen.


2. Cut a small piece of the tube to the desired size of your pendant and back with a piece of felt, then with your feed dogs lowered and an embroidery foot fitted to your machine start stitching in random small circles. I used 3 colours of thread separately: yellow, orange, red and merged them together.


3. Returning to the towel, working from the rear colour in the motifs with the ball point pen to emboss the design. Then trim.


4. Cut another piece of felt to cover the back of your work and glue into place with the multi-purpose glue. Trim into the finished shape once the glue has completely dried.


5. Securely stitch a jump ring to the top of your pendant, it is now ready to be threaded onto a piece of cord or a chain ready for wearing.


Saturday, 12 March 2011

10th project completed - a scrap fabric and fused plastic brooch

 Well, another project completed. This week I was playing with plastic bags and some fabric scraps. I hope you will like this project, embellished with beads and basic hand stitches it is quite simple and relatively quick!


And here it is:


A fused plastic and fabric brooch


Materials needed:

  1. Some scraps of brightly coloured fabrics
  2. Some coloured plastic carrier bags
  3. 1 tube of multi purpose glue (UHU type)
  4. A small scrap of heavy card
  5. A brooch pin
  6. Bondaweb
  7. Heavy craft wire
  8. Beads
  9. Black Acrylic paint and a paint brush
  10. Two protective sheets of parchment / baking paper or Teflon sheets
  11. Iron and ironing surface
Instructions:


1. Cut enough squares of Bondaweb for the number of different fabrics / plastic bags you have and fuse one to the back of each scrap of fabric. Leave to one side.


2. Taking your carrier bags, cut a large square and fold it in half. In a well ventilated area place it between your two protective sheets and press on a medium heat. If you get any smoke or fumes you have the iron too hot! The bag should melt slightly and shrink, warp and fuse together.

3. Fuse some Bondaweb to the reverse of your fused plastic and leave to one side.


4. Choose a piece of fabric to be your background and place on one piece of protective sheet to protect your ironing surface. Remove the backing paper from the Bondaweb on one of your fused plastic pieces and place on top of your background. Cover with the other parchment / baking paper / Teflon sheet and fuse it to the background.
5. Now cut random shapes from your other scraps and place as desired removing the backing paper as you go. Once you are happy with the design, cover with your protective sheet and iron. All the layers should now be firmly attached.


6. Pick a small section of your created background that you particularly like and start to embellish with simple hand stitches. I used straight and blanket stitch. Couch down a bent wire shape and add some beads to add texture and interest.


7. Trim your piece of work down to an appealing shape for your brooch. Draw around your shape onto a piece of heavy card and cut it out.


8. Paint the back of the card shape - this will be the back of the brooch. Leave to Dry.
9. Once dry, glue your brooch back and front together and again leave to dry.


10. To finish glue the brooch pin to the back of your brooch.

Well there it is, project number 10. I will announce project 11's materials tomorrow evening as usual. See you then!