


And here it is:

A fused plastic and fabric brooch
Materials needed:
- Some scraps of brightly coloured fabrics
- Some coloured plastic carrier bags
- 1 tube of multi purpose glue (UHU type)
- A small scrap of heavy card
- A brooch pin
- Bondaweb
- Heavy craft wire
- Beads
- Black Acrylic paint and a paint brush
- Two protective sheets of parchment / baking paper or Teflon sheets
- Iron and ironing surface
Instructions:

1. Cut enough squares of Bondaweb for the number of different fabrics / plastic bags you have and fuse one to the back of each scrap of fabric. Leave to one side.

2. Taking your carrier bags, cut a large square and fold it in half. In a well ventilated area place it between your two protective sheets and press on a medium heat. If you get any smoke or fumes you have the iron too hot! The bag should melt slightly and shrink, warp and fuse together.
3. Fuse some Bondaweb to the reverse of your fused plastic and leave to one side.

4. Choose a piece of fabric to be your background and place on one piece of protective sheet to protect your ironing surface. Remove the backing paper from the Bondaweb on one of your fused plastic pieces and place on top of your background. Cover with the other parchment / baking paper / Teflon sheet and fuse it to the background.
5. Now cut random shapes from your other scraps and place as desired removing the backing paper as you go. Once you are happy with the design, cover with your protective sheet and iron. All the layers should now be firmly attached.

6. Pick a small section of your created background that you particularly like and start to embellish with simple hand stitches. I used straight and blanket stitch. Couch down a bent wire shape and add some beads to add texture and interest.

7. Trim your piece of work down to an appealing shape for your brooch. Draw around your shape onto a piece of heavy card and cut it out.

8. Paint the back of the card shape - this will be the back of the brooch. Leave to Dry.
9. Once dry, glue your brooch back and front together and again leave to dry.
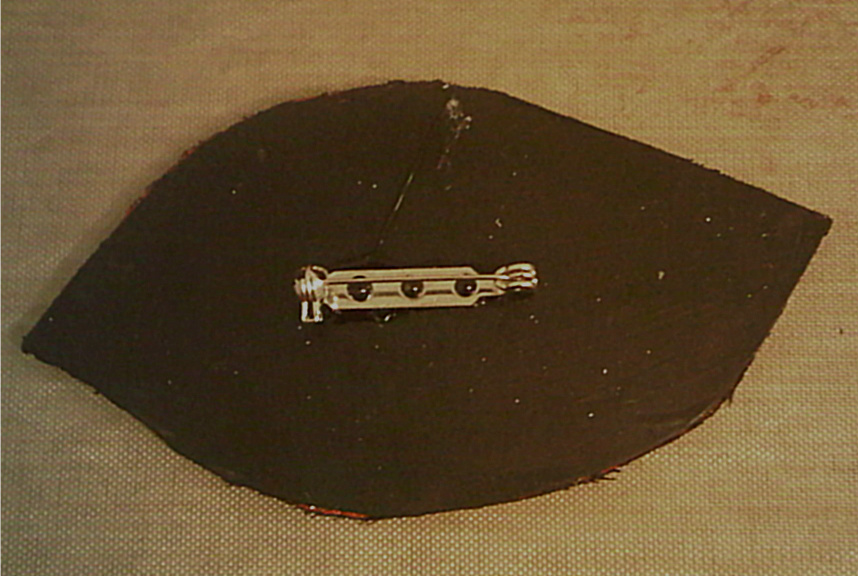
10. To finish glue the brooch pin to the back of your brooch.
Well there it is, project number 10. I will announce project 11's materials tomorrow evening as usual. See you then!
1 comment:
it makes me want to go and play too! great idea!
Post a Comment