Projects so far

Showing posts with label scraps. Show all posts

Saturday, 15 October 2011

41st Project completed - A toilet roll mini album

Hi!


Right, I have decided to have a go at a paper craft project this week, as you will probably have gathered my field is much more of a textiles related one so please excuse the basic nature of my paper crafting!


So what did I make with my toilet roll inners?


A mini album


Materials


  • 3 or more toilet rolls
  • patterned papers to cover them (I used photocopies of some of my artwork)
  • Some card (white or patterned )
  • Ribbons or chunky threads
  • A hole punch
  • Glue
  • Paint
  • Paper trimmer or scissors
  • Optional - Some decorative brads and other bits and pieces
Instructions

1. Take your clean toilet roll inners and fold so they lie flat.


2. Carefully cover your rolls with patterned paper. I then put a colour wash over my papers to make them more subtle.


3. Measure out a card Tag to fit into each roll they should be roughly the same length as the roll as after you have bound the rolls together they should still protrude from the pockets. You can decorate these however you like. I used some angel hair paper and paint. Punch a hole at the end of each tag and thread through some ribbon or chunky threads.


4. Bind your rolls together by punching two holes at one edge and thread them together using some ribbon or threads. Knot on the top. And add a space for a title. You can now decorate your tags and folder with decorative brads etc. and add photos, samples or whatever you like!


Saturday, 12 March 2011

10th project completed - a scrap fabric and fused plastic brooch

 Well, another project completed. This week I was playing with plastic bags and some fabric scraps. I hope you will like this project, embellished with beads and basic hand stitches it is quite simple and relatively quick!


And here it is:


A fused plastic and fabric brooch


Materials needed:

  1. Some scraps of brightly coloured fabrics
  2. Some coloured plastic carrier bags
  3. 1 tube of multi purpose glue (UHU type)
  4. A small scrap of heavy card
  5. A brooch pin
  6. Bondaweb
  7. Heavy craft wire
  8. Beads
  9. Black Acrylic paint and a paint brush
  10. Two protective sheets of parchment / baking paper or Teflon sheets
  11. Iron and ironing surface
Instructions:


1. Cut enough squares of Bondaweb for the number of different fabrics / plastic bags you have and fuse one to the back of each scrap of fabric. Leave to one side.


2. Taking your carrier bags, cut a large square and fold it in half. In a well ventilated area place it between your two protective sheets and press on a medium heat. If you get any smoke or fumes you have the iron too hot! The bag should melt slightly and shrink, warp and fuse together.

3. Fuse some Bondaweb to the reverse of your fused plastic and leave to one side.


4. Choose a piece of fabric to be your background and place on one piece of protective sheet to protect your ironing surface. Remove the backing paper from the Bondaweb on one of your fused plastic pieces and place on top of your background. Cover with the other parchment / baking paper / Teflon sheet and fuse it to the background.
5. Now cut random shapes from your other scraps and place as desired removing the backing paper as you go. Once you are happy with the design, cover with your protective sheet and iron. All the layers should now be firmly attached.


6. Pick a small section of your created background that you particularly like and start to embellish with simple hand stitches. I used straight and blanket stitch. Couch down a bent wire shape and add some beads to add texture and interest.


7. Trim your piece of work down to an appealing shape for your brooch. Draw around your shape onto a piece of heavy card and cut it out.


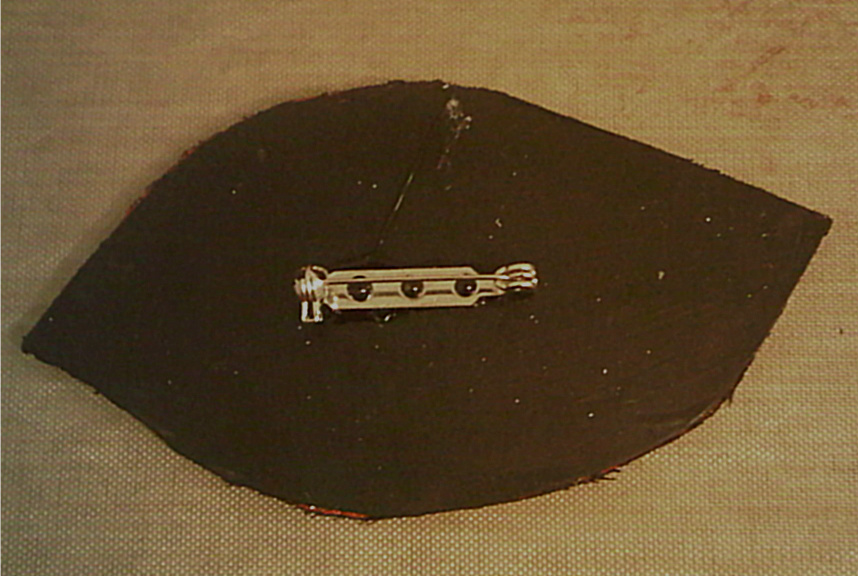
8. Paint the back of the card shape - this will be the back of the brooch. Leave to Dry.
9. Once dry, glue your brooch back and front together and again leave to dry.


10. To finish glue the brooch pin to the back of your brooch.

Well there it is, project number 10. I will announce project 11's materials tomorrow evening as usual. See you then!